
These speakers have been in my life for as long as I can remember. My life’s music was played through these, and I have to admit I’m a little nostalgic about them. But they were so freaking ugly, it was hard to keep them around. When we moved, I decided to give them a new, pretty update, so I refinished and re-covered them. Now they look as great as they sound! There’s a slight muffling of the sound because I used a regular cotton fabric instead of acoustic stuff, but nobody other than a true audiophile would ever notice, so it’s certainly good enough to listen to music in our family room/kitchen area.
You can click to enlarge and of the photos to get a better look.
Here’s the speaker, with the cover off the front, before our walls were painted.

And here’s a wider shot (though furniture has now been rearranged, you get the general feeling for the space), with the Revere Pewter walls. You can also see my Mom’s choice of reading material and my kids’ mess, but that’s ok. We’re all friends here.

The speakers had a plastic-y coating/layer on them, which happened to be really easy to peel off thanks to them being nearly 40 years old.


Once that layer was peeled off, we protected the fronts and backs with newspaper so there was no overspray. I used Rustoleum Gloss White to paint them, because I was looking for quick and easy results. It took two cans of paint ($15) to cover them.

Next, I cut the old, ratty acoustic fabric off the covers.


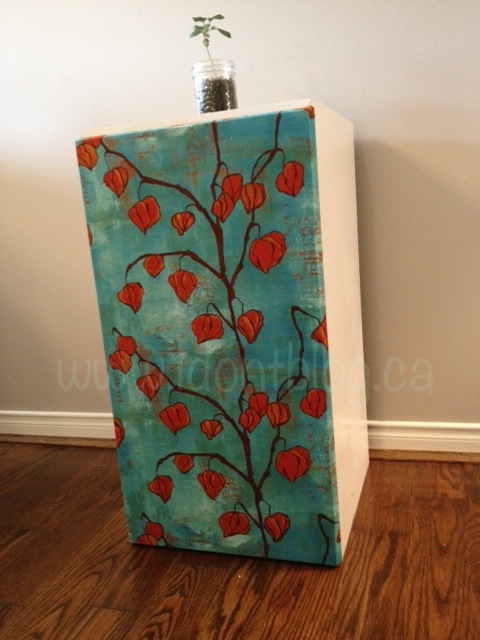
Luckily, I had this fabric left over from some other project I started and never finished — how fortuitous! These are the accent colours of my family room/kitchen so it was perfect! I gave about 2.5″ around the edges, and with a rotary cutter, removed the excess fabric.


Then I got to break out my best friend, the staple gun. I centred the pattern as I wanted it to look from the front. Then, holding the fabric taut, I stapled around the edges of the speaker cover frame.

Next, I replaced the old Velcro (which is what holds the cover to the speaker itself) with new stuff.

All ready!

And here’s the end result! A shiny, pretty new statement piece.
 This is a super easy, cheap way to refresh an old pair of speakers! You can find tons of them at places like Value Village, or yard sales, and though they’re ugly, many of them have awesome life still left in them.